Introduction
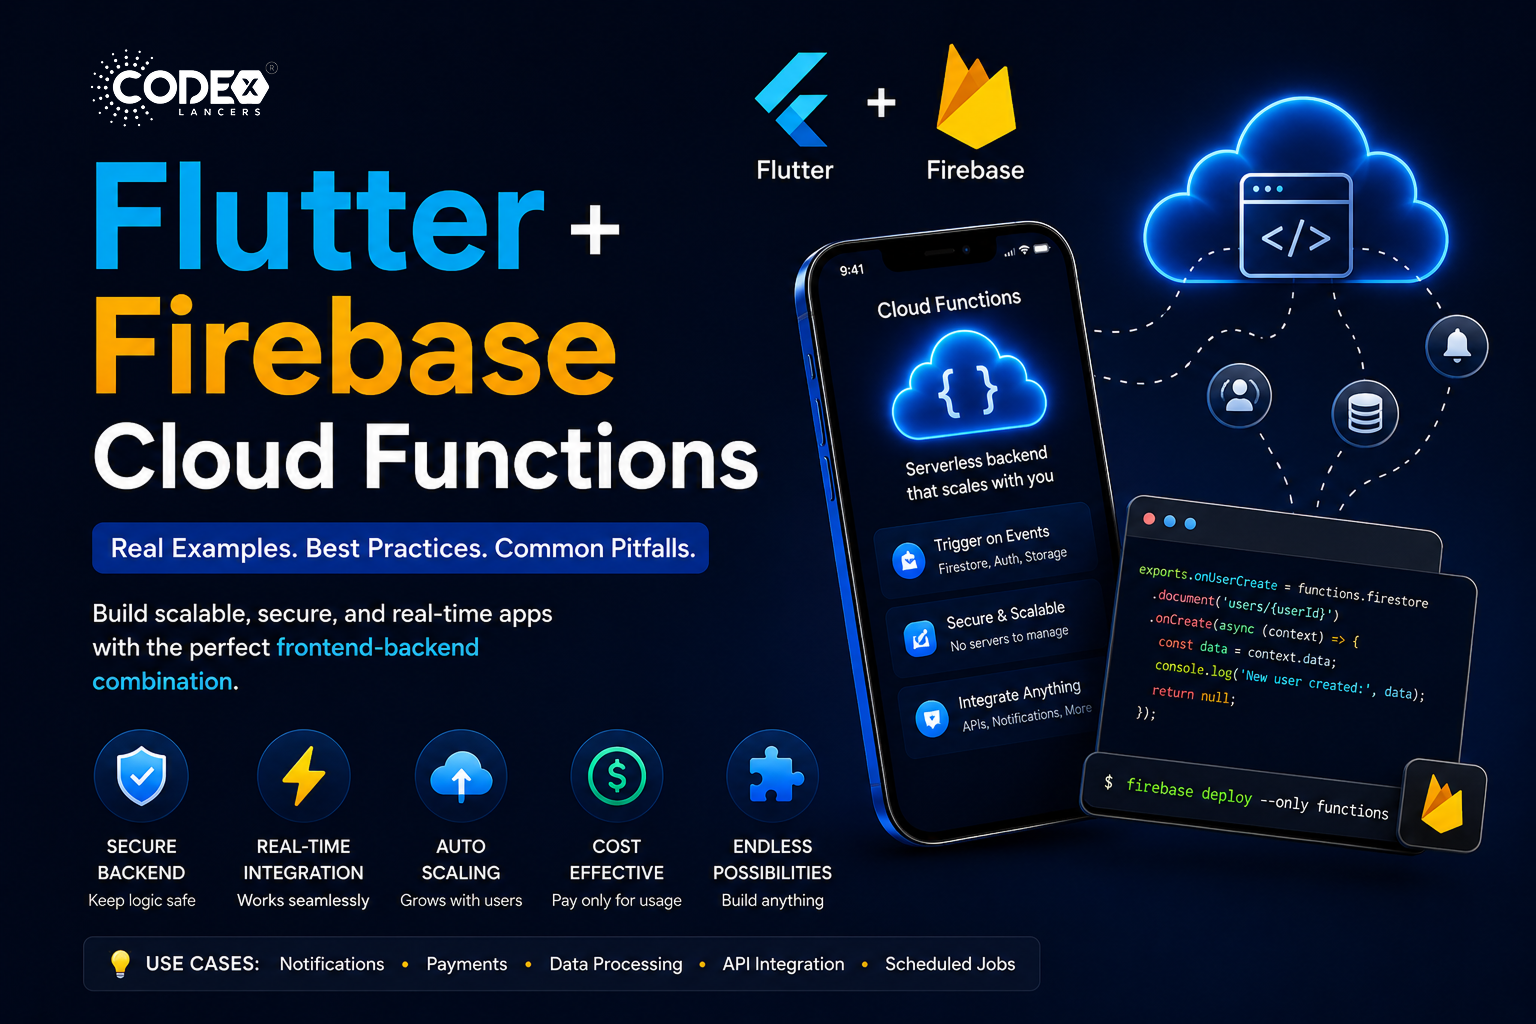
Building modern mobile apps requires more than just a beautiful UI — you also need a reliable backend. This is where Flutter and Firebase Cloud Functions become a powerful combination.
- Flutter is a UI toolkit by Google that allows you to build natively compiled apps for mobile, web, and desktop using a single codebase.
- Firebase Cloud Functions is a serverless backend solution that lets you run code in response to events without managing servers.
When you combine them, you get:
- A fast, scalable frontend (Flutter)
- A powerful, secure backend (Cloud Functions)
This guide will walk you through everything — from setup to real-world examples — in a simple and practical way.
Why Use Flutter + Firebase Cloud Functions?
Key Benefits
Feature Benefit Serverless backend No need to manage serversReal-time integrationWorks seamlessly with Firestore Scalability Automatically scales with usersSecurityBackend logic stays hiddenCost-effectivePay only for usage
Use Cases
Here are some real-world scenarios where this combination shines:
1. Secure Backend Logic
- Payment verification
- User authentication checks
- Role-based access control
2. Notifications System
- Send push notifications when data changes
- Trigger alerts on user actions
3. Data Processing
- Automatically process uploaded data
- Clean and transform Firestore entries
4. Third-Party API Integration
- Call external APIs securely (without exposing keys)
5. Scheduled Jobs
- Daily reports
- Cleanup tasks
Step-by-Step Setup
Let’s set up everything from scratch.
Step 1: Setup Flutter Project
flutter create my_app
cd my_app
Step 2: Setup Firebase
- Go to Firebase Console
- Create a project
- Add Android/iOS app
- Download config files:
google-services.json (Android)
GoogleService-Info.plist (iOS)
Step 3: Add Firebase to Flutter
Add dependencies:
dependencies:
  firebase_core: ^latest
  cloud_firestore: ^latest
Initialize Firebase:
void main() async {
  WidgetsFlutterBinding.ensureInitialized();
  await Firebase.initializeApp();
  runApp(MyApp());
}
Step 4: Setup Firebase CLI
Install CLI:
npm install -g firebase-tools
Login:
firebase login
Initialize functions:
firebase init functions
Choose:
- JavaScript or TypeScript
- ESLint (optional)
Step 5: Write Your First Cloud Function
Example: Trigger when a user is created in Firestore
const functions = require("firebase-functions");
const admin = require("firebase-admin");

admin.initializeApp();

exports.onUserCreate = functions.firestore
  .document("users/{userId}")
  .onCreate((snap, context) => {
    const data = snap.data();
    console.log("New user created:", data);
    return null;
  });
Deploy:
firebase deploy --only functions
Real-World Examples
Example 1: Send Push Notification on New Message
Cloud Function
exports.sendNotification = functions.firestore
  .document("messages/{id}")
  .onCreate(async (snap, context) => {
    const message = snap.data();

    const payload = {
      notification: {
        title: "New Message",
        body: message.text,
      },
    };

    return admin.messaging().sendToTopic("allUsers", payload);
  });
Flutter Side
Subscribe to topic:
FirebaseMessaging.instance.subscribeToTopic("allUsers");
Example 2: Secure Payment Verification
Never verify payments on the client side!
Cloud Function
exports.verifyPayment = functions.https.onCall(async (data, context) => {
  const paymentId = data.paymentId;

  // Call payment gateway API
  const isValid = true; // simulate

   if (!isValid) {
    throw new functions.https.HttpsError("failed-precondition", "Invalid payment");
  }
  return { success: true };
});
Flutter Call
final callable = FirebaseFunctions.instance.httpsCallable('verifyPayment');

final result = await callable.call({
  "paymentId": "12345",
});

print(result.data);
Example 3: Auto-Update Data (Business Logic)
Use Case:
When an order is created → update user stats
exports.updateUserStats = functions.firestore
  .document("orders/{orderId}")
  .onCreate(async (snap, context) => {
    const order = snap.data();
    const userId = order.userId;

    const userRef = admin.firestore().collection("users").doc(userId);

    await userRef.update({
      totalOrders: admin.firestore.FieldValue.increment(1),
    });
  });
Example 4: Call External API Securely
const axios = require("axios");

exports.fetchWeather = functions.https.onCall(async (data, context) => {
  const city = data.city;
  const response = await axios.get(
    `https://api.weatherapi.com/v1/current.json?key=API_KEY&q=${city}`
  );
  return response.data;
});
API key stays safe in backend!
Best Practices
1. Keep Business Logic in Cloud Functions
Don’t trust frontend
Always validate on backend
2. Use Environment Config
firebase functions:config:set api.key="YOUR_KEY"
Access:
functions.config().api.key
3. Handle Errors Properly
throw new functions.https.HttpsError(
  "invalid-argument",
  "Missing data"
);
4. Optimize Performance
- Avoid heavy loops
- Use async/await properly
- Minimize Firestore reads
5. Secure Your Functions
Use authentication checks:
if (!context.auth) {
  throw new functions.https.HttpsError("unauthenticated");
}
Common Pitfalls
1. Doing Everything in Flutter
Leads to security issues
2. Infinite Function Loops
Example:
- Function writes to Firestore
- Trigger fires again
Fix:
Use flags or conditions
3. Large Cold Start Delays
Happens in unused functions
Fix:
- Use smaller functions
- Use regional deployment
4. Exposing API Keys
Always call APIs via Cloud Functions
5. Not Handling Errors
Always use try/catch
Pro Tips
- Use TypeScript for better maintainability
- Structure functions into modules
- Log everything using console.log
- Monitor using Firebase Console
Conclusion
Flutter + Firebase Cloud Functions is a powerful full-stack solution that allows you to build scalable, secure, and modern applications without managing servers.
Key Takeaways:
- Flutter handles UI beautifully
- Cloud Functions handle secure backend logic
- Real-time + serverless = fast & scalable apps
- Keep sensitive logic off the client
- Use triggers and callable functions wisely
If you’re building apps with features like:
- Payments
- Notifications
- AI integrations
- Real-time data
Then this stack is one of the best choices available today.
Final Thought
Start simple:
- Build one function
- Connect it to Flutter
- Expand step by step
And soon, you’ll be building production-ready apps with confidence